


Ever looked at your app and thought, “It works fine… but it could look way better”? That’s where custom widgets in Flutter come in. Whether you're building an app for your own business or your client, creating a customized Flutter app helps it stand out from the rest.
In this blog, we’ll walk you through how to design your own custom widgets step by step — in a way that's easy to understand, even if you’re just getting started. By the end, you'll know the best way to implement custom widgets in Flutter that actually fit your brand and user needs.
What Are Custom Widgets in Flutter?
Flutter is known for being flexible and super fast to build apps. And at the heart of it are widgets — they control everything you see on the screen. Buttons, text boxes, menus, layouts — all are widgets.
But here’s the cool part: you don’t have to stick with the default look. You can create custom widgets to match your app’s personality, user behavior, or business identity.
Why You Should Use Custom Widgets
If you're working on Flutter custom app development for business, custom widgets offer big advantages:
Unique Look & Feel: Give your app a branded, polished appearance.
Reusable Components: Save time by using the same widget across multiple screens.
Business-Specific Features: Add buttons, cards, or forms that serve real business goals.
More Control: Tweak every little detail, from colors to animations.
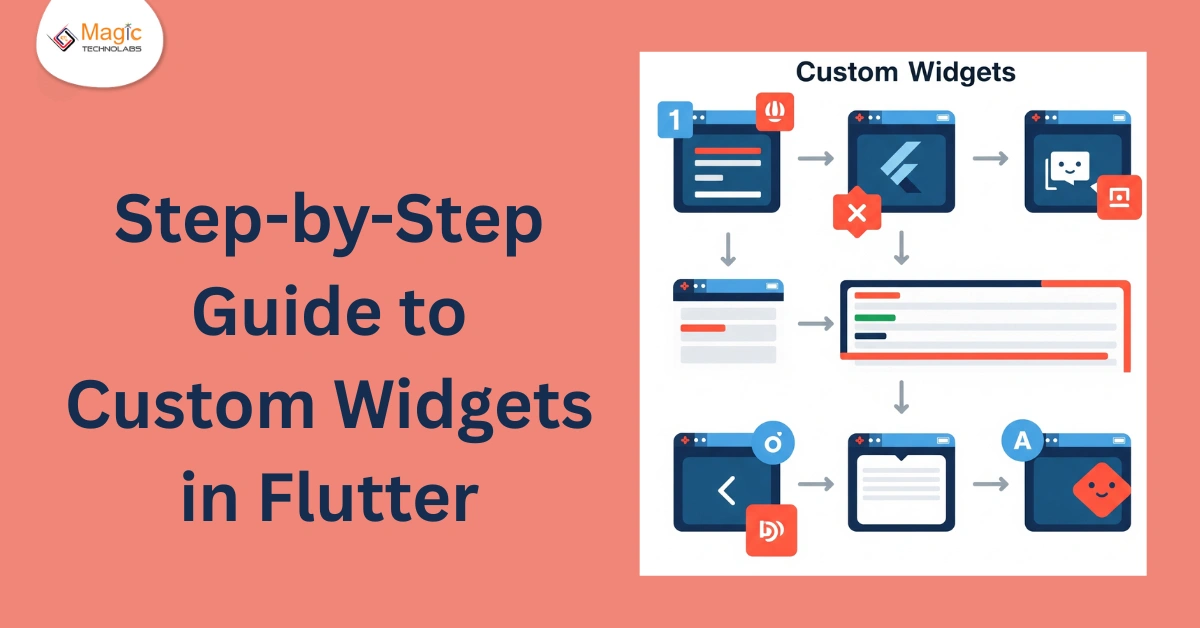
Step-by-Step Guide to Creating Custom Widgets (Without Code!)
Step 1: Plan What You Need
Think about the parts of your app that could use a makeover. Is it the login button? The user profile card? The product tile? Start small — choose one widget to customize first.
Step 2: Define the Design
Sketch out how you want your custom widget to look. Use a whiteboard, design tool, or even pen and paper. Decide on colors, shapes, spacing, and interactions. This keeps you clear before development starts.
Step 3: Break It into Pieces
Each custom widget is made of smaller parts. For example, a custom card might include an image, some text, and a button. Breaking it down helps you build it cleanly and reuse parts in other widgets.
Step 4: Make It Reusable
Good custom widgets are flexible. They don’t hard-code a title or color — they let you pass that info in. This way, you can use the same widget in multiple places with different content.
Step 5: Test and Improve
Once your custom widget is built, try it out on different devices and screens. Does it scale well? Does it respond to user interactions the way you want? Make changes based on feedback.
Real-Life Examples of Custom Widgets
Here are a few ideas to get your inspiration flowing:
A branded call-to-action button with animation
A product card that changes color when tapped
A rating bar with custom star icons
A user profile tile with rounded images and gradient backgrounds
These custom touches can make your app feel way more premium — without a massive budget.
Tips for Better Widget Customization
Keep your designs simple and user-friendly
Always think mobile-first (since most users are on phones)
Stay consistent with your brand's style guide
Don’t overcomplicate — clean is better than flashy
Reuse your widgets wherever you can
Final Thoughts: Customize with Confidence
Building a customized Flutter app doesn’t mean starting from scratch. By learning the best way to implement custom widgets in Flutter, you can turn a plain app into something truly impressive — and enjoyable to use.
Remember, it’s not just about looking good. It’s about giving users the experience they expect from modern, professional mobile apps.
What Would You Customize First?
If you could redesign just one part of your app today, what would it be? A button? A homepage layout? A contact form? Share your ideas — we’d love to hear them!